Dec 11, 2024
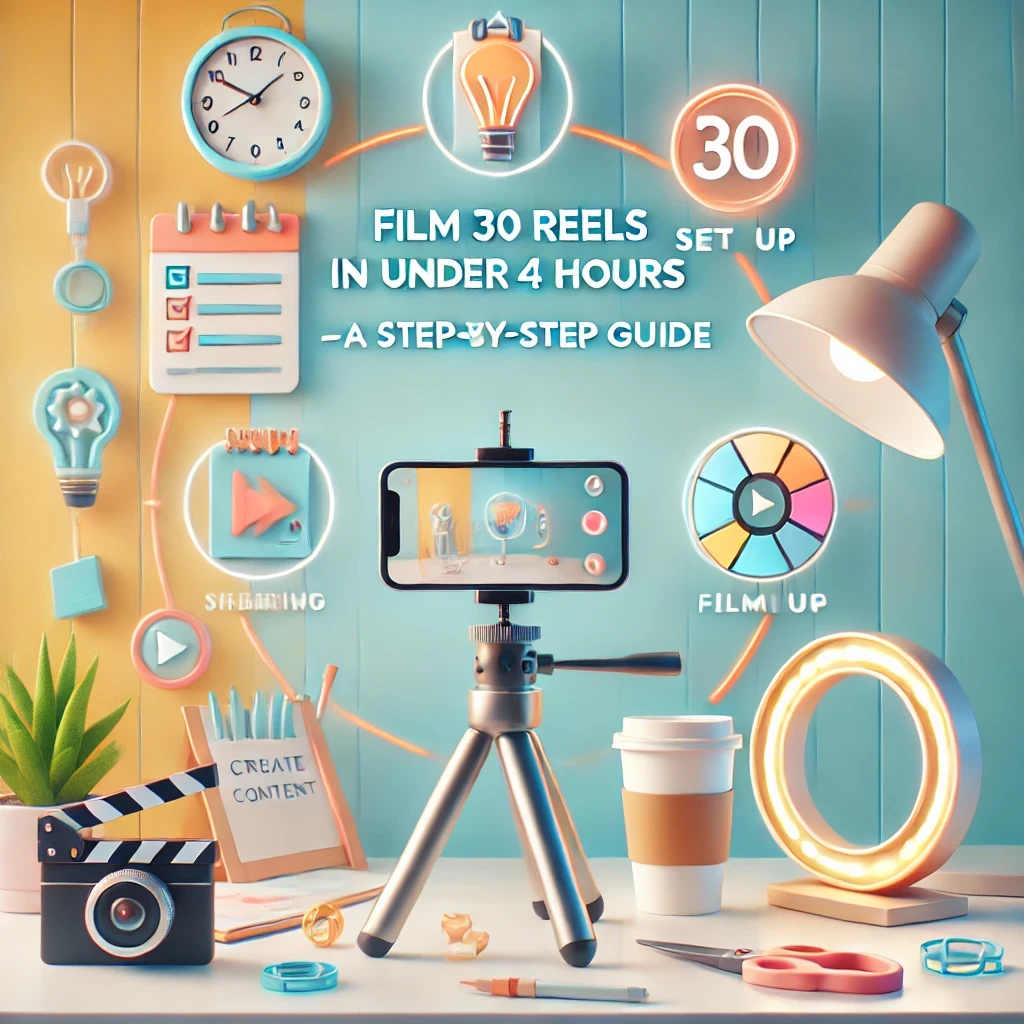
Creating short-form video content like Instagram Reels or TikToks can feel like an overwhelming task. But what if I told you that you could film 30 reels in less than four hours?
Yes, you read that right—30 reels, four hours, and a process that's easy to replicate every single time. Whether you're an entrepreneur, a content creator, or a busy professional trying to build your online presence, this method will help you churn out engaging content without the burnout.
Here’s my tried-and-tested strategy, broken into four actionable steps:
Step 1: Plan Your Content (60–90 minutes)
The secret to efficient filming starts with solid planning. Take the time upfront to brainstorm and map out your content. Here’s how:
Pick Your Core Themes: Identify 3–5 main topics or categories that resonate with your audience. These could include tips, behind-the-scenes insights, answers to FAQs, or even relatable humor.
Break It Down: Once you have your big ideas, break them into smaller, bite-sized pieces. For example, if you’re sharing tips, each reel can focus on just one tip.
Outline Hooks and Bullet Points: For each reel, jot down a snappy hook to grab attention (e.g., "Struggling to stay productive? Here's a 5-second hack!") and some quick bullet points to guide what you'll say.
The goal is to keep each reel short and impactful—under 60 seconds if possible. With a clear plan, you’ll save hours during the filming process.
Step 2: Set Up Your Filming Space (15–30 minutes)
A good filming setup doesn’t need to be complicated, but it does need to be intentional. Spend a few minutes getting everything ready so you can film uninterrupted:
Choose the Right Spot: Look for a quiet, well-lit area. Natural light is ideal, but a ring light or softbox can work wonders too.
Set the Scene: Position your camera at eye level for a professional look, and make sure your backdrop is tidy and visually appealing. Neutral colors or simple decor work best.
Keep It Simple: Wear something neutral and avoid multiple outfit changes—they’ll only slow you down.
By setting up once and filming everything in batches, you’ll streamline your workflow and keep your momentum going.
Step 3: Film in Batches (90–120 minutes)
Now it’s time to hit record! The key to speed and efficiency is batching. Break the filming into three distinct rounds:
Round 1: Hooks (30 minutes): Start by recording the opening few seconds for all your reels. These are the attention-grabbing hooks that make viewers stop scrolling.
Round 2: Main Content (60 minutes): Once the hooks are done, dive into the core message of each reel. Stick to your bullet points and keep it conversational.
Round 3: CTAs & Transitions (15–30 minutes): Wrap up each reel with a clear call-to-action (CTA). For example: “Follow for more tips!” or “Tag a friend who needs to see this!”
Filming in this order keeps you focused and ensures you don’t lose steam halfway through.
Step 4: Batch Edit Your Reels
With filming complete, the next step is to edit your reels while everything is still fresh in your mind. Use user-friendly apps like InShot or CapCut to trim clips, add captions, and enhance visuals.
If editing isn’t your strong suit, consider outsourcing it to a freelancer or using pre-designed templates. The key is to make sure the edits align with your brand and message.
Why This Process Works
By batching your planning, filming, and editing, you eliminate the constant context-switching that can eat up your time. Instead of creating reels one by one (which can feel never-ending), you’re tackling everything in focused sprints.
The result? You walk away with a month’s worth of content in just a few hours—leaving you more time to engage with your audience, grow your brand, or focus on other priorities.
Ready to Try It?
Now that you know the process, it’s time to put it into action! Dedicate a morning or afternoon to batch-filming your reels, and let me know how it goes. Once you get the hang of it, you’ll wonder how you ever managed without this system.
Lights, camera, action! 🎥✨